The process to update Expenses
Menu > Expenses App > Select the Expense name > Edit (Pencil Icon)
If user wants to update the existing Expense details, click on the Edit (Pencil Icon) option and fill in the required details.
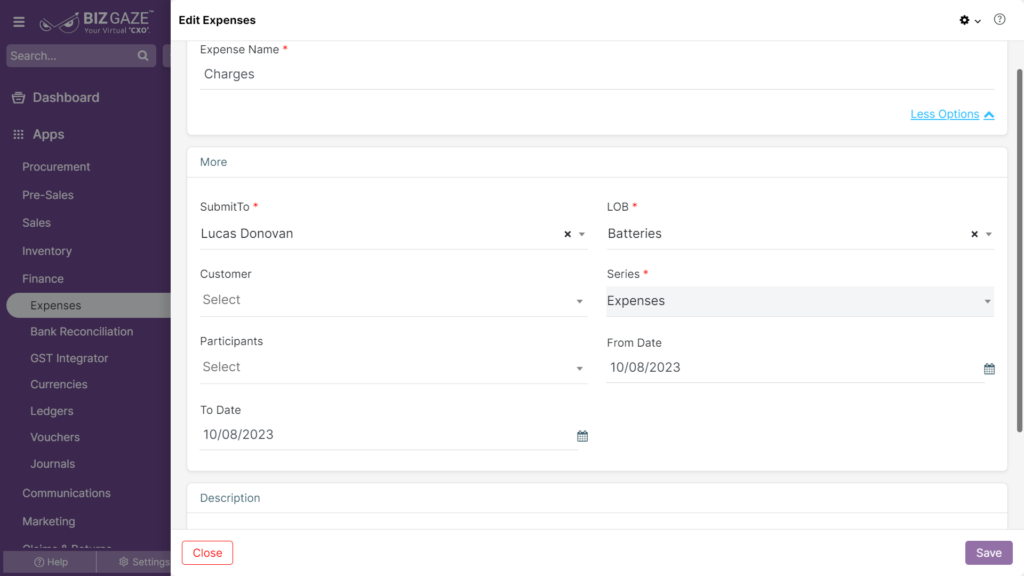
Edit Expenses
| Field Name | Description |
| Expense Name | By default the system shows the name of the expense; if user wants to change it, enter the new name of the expense |
| Series | By default the system loads series as Expenses |
| Submit To | By default the system shows the name of the hierarchy user name to whom the Expense is forwarded for approval; if user wants to change it, select the new hierarchy user from the list |
| LoB | By default the system shows the Line of business segment of the Customer/Employee; if user wants to change it, select the new Line of business of the Employee/Customer from the list |
| From Date | By default the system shows the start date of the expense; if user wants to change it, select the start date of the expense period from the calendar |
| To Date | By default the system shows the end date of the expense; if user wants to change it, select the end date of the expense period from the calendar |
| Customer | By default the system shows the customers names included in the expense; if user wants to change it, select customers’ name from the list |
| Participant | By default the system shows the participants names included in the expense; if user wants to change it, select the participants from the list as if any person coordinates with the actual user |
| Description | User can comment or enter short notes about the Expenses |
Apply all the required changes and click on Save